Docs2me for Xero
Scan documents to your Xero companies! Save invoices, contracts or any other kind of document straight into Xero with fully secure access.
Information Guide: Download
Information Guide
App Description
The docs2me for Xero app enables direct scanning from any HP printer with a future smart panel to Xero, which is very useful for bookkeepers and accountants using the cloud-based accounting software platform.
Scan documents to your Xero companies! Save invoices, contracts or any other kind of document straight into Xero with fully secure access.
Docs2me is a great way to boost productivity by making it quick and easy to upload paper files to a cloud-based platform for fast access anywhere, anytime. Docs2me provides seamless business automation from document management to workflow automation.
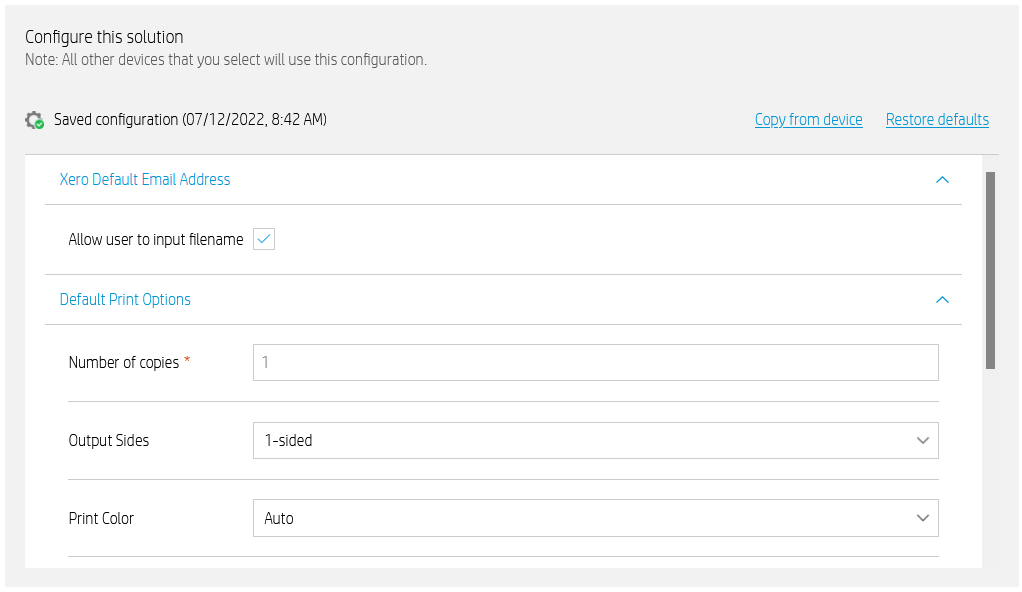
DeleteApp Configuration
Below are the optional configuration changes that can be done on the application before deployment. This can be updated at any time through the HP Command Center or by your print vendor.
Instructions Guide
Please see below the steps on how to operate the application to ensure the application is used correctly.
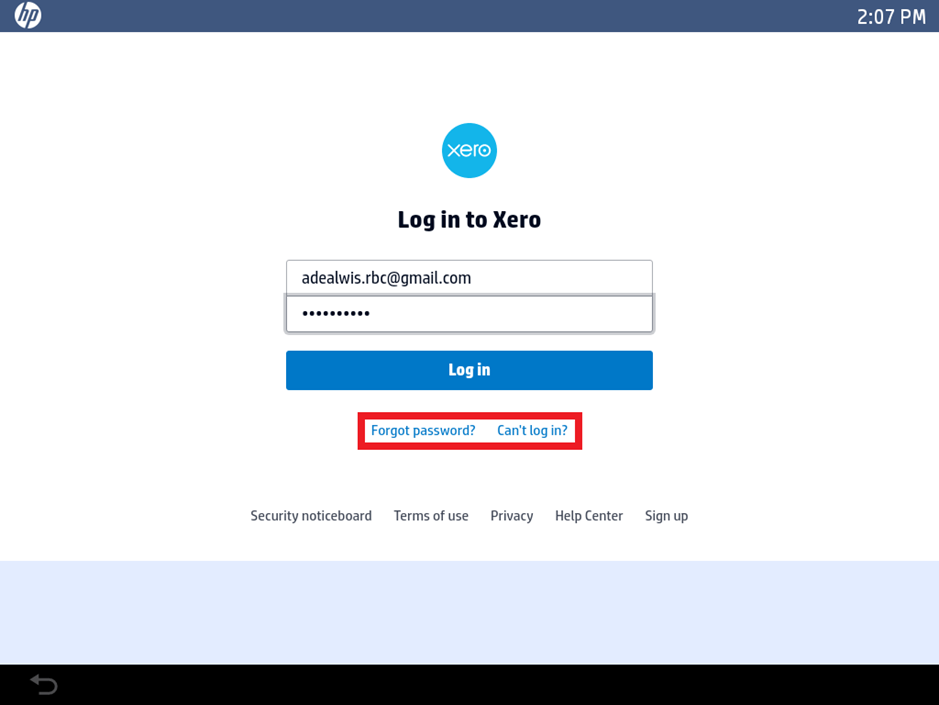
Login Page
After clicking the Xero application icon on your printer, you will be prompted to key in your login details. If there are any issues logging in, please use the ‘Forgot password’ option first to troubleshoot before selecting ‘Can’t log in?’
If there are issues accessing your account from here, please reconfirm your login details through a web browser on your personal device.
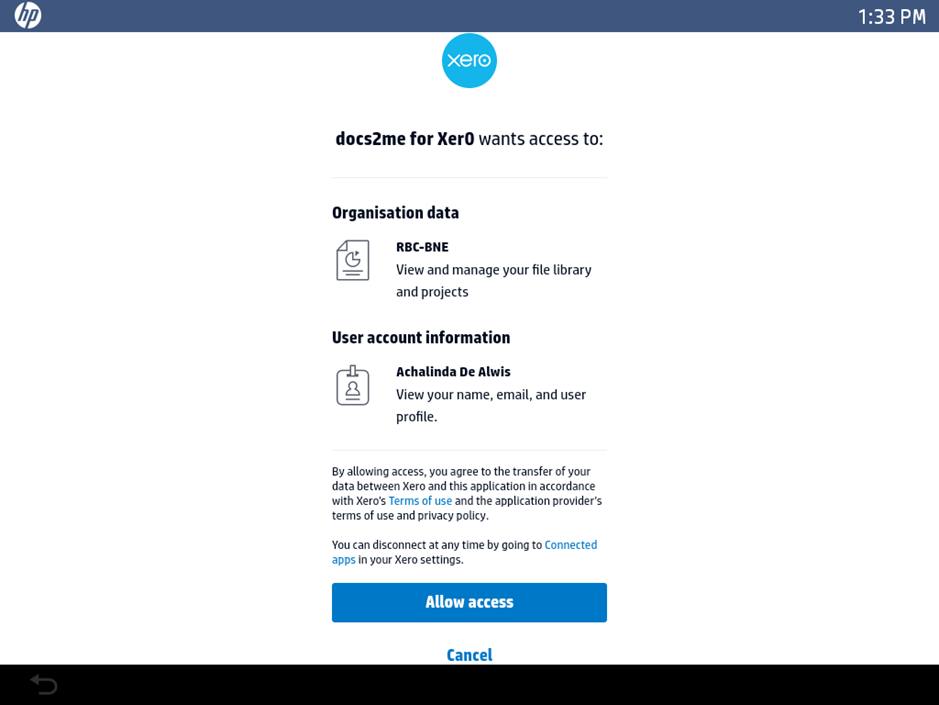
Access Verification Page
Once you have successfully logged in, the permissions screen will launch and prompt for access to ensure that the application is able to sync to users’ Xero account information correctly.
Home Page/Scan Page
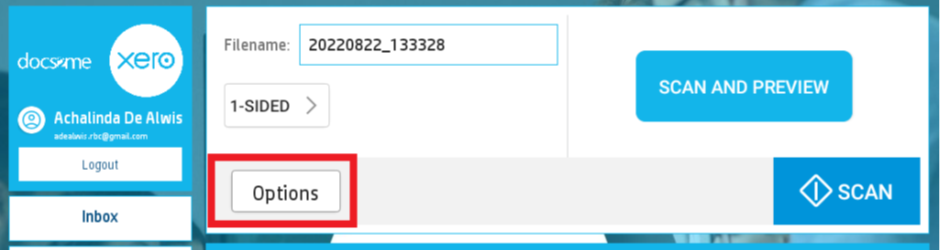
Below is the home page of the application, users are given the option to scan and preview their documents before having the scans sent directly to Xero. Users are allowed to modify the Filename as shown below in the box next to ‘Filename:’ as the file names are automatically generated all the time.

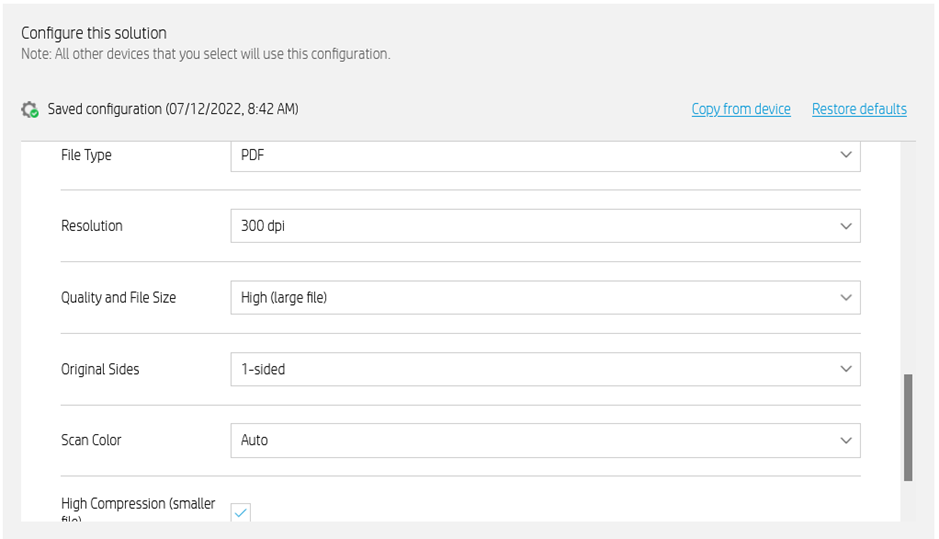
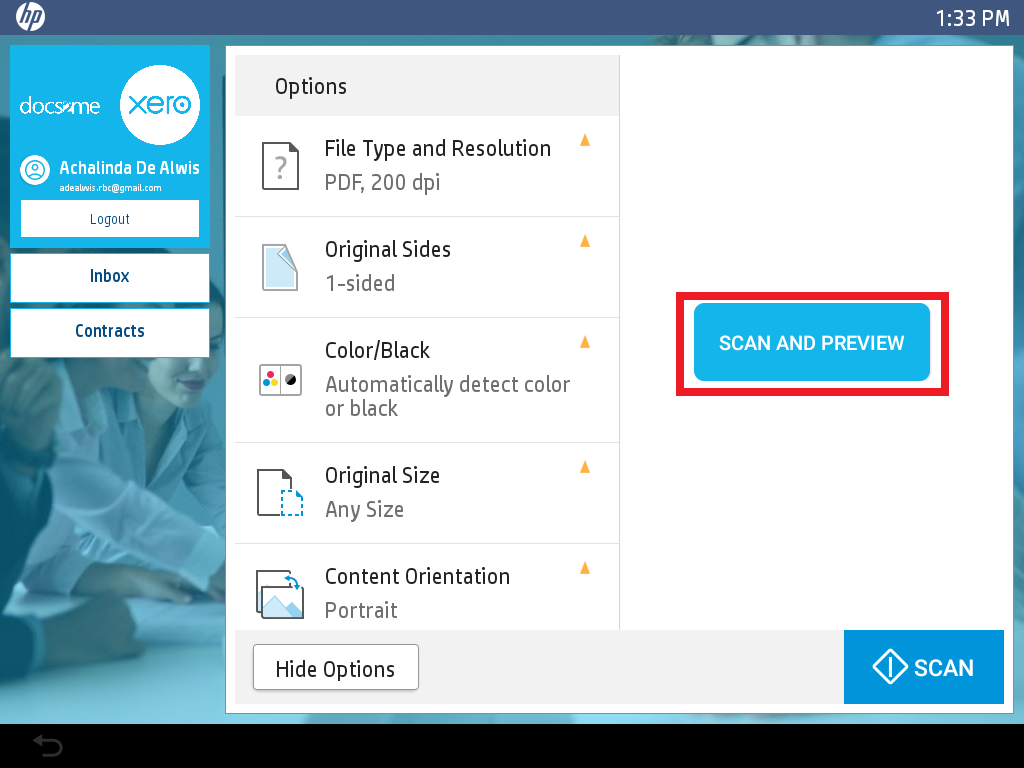
Scan Output Settings
On the home page, users are allowed to change the output setting on how they would like their documents to be scanned through. This includes the option to scan the documents in an OCR format, colour, resolution, orientation, etc. Please use the ‘Scan and Preview’ button if users would like to review the scanned document.
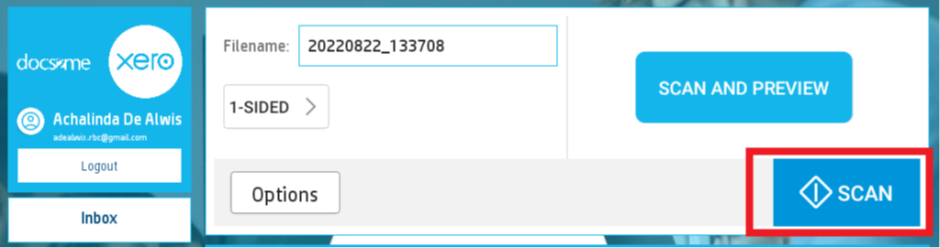
Scan Progress Screen
The screen below will appear when users click on the SCAN button. This shows the scanning functionality, users will have the capability to cancel the job by clicking on the ‘Cancel Job’ button as shown below. This will stop the scanning and the document will not be sent through to Xero.

Option to Print from Xero
Users have the option to print the files listed from their Xero account as well. Please take note of the ‘Print’ button next to the file that has been scanned through, as well as the other files that are already on the account.

Print Preview
After selecting the document to print, users will see the pop-up below that will show the preview of the file that will be printed to ensure the users can view the document they are wanting to print.

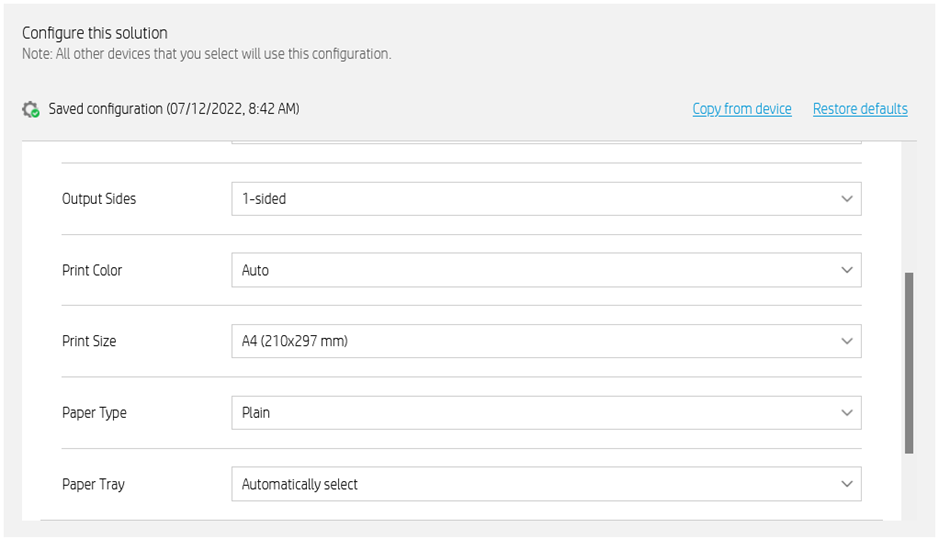
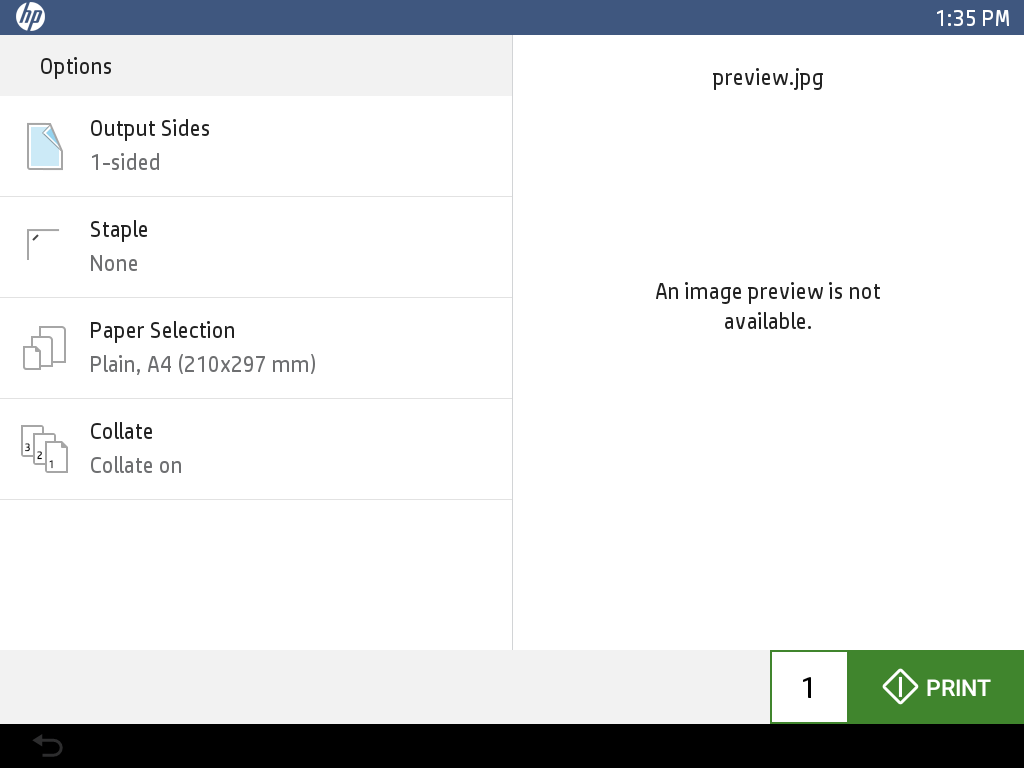
Print Output Settings
When clicking on the ‘Print File’ button, users will be provided the below options to change the output settings of the document that they have selected. The below screen shows the options that are given to the user to modify if needed for the printed document. The next screen shows the printer processing the print job.

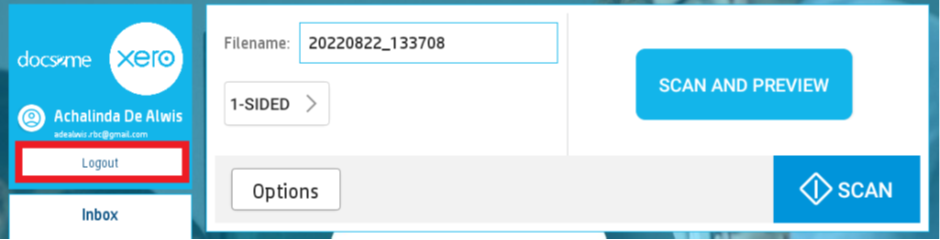
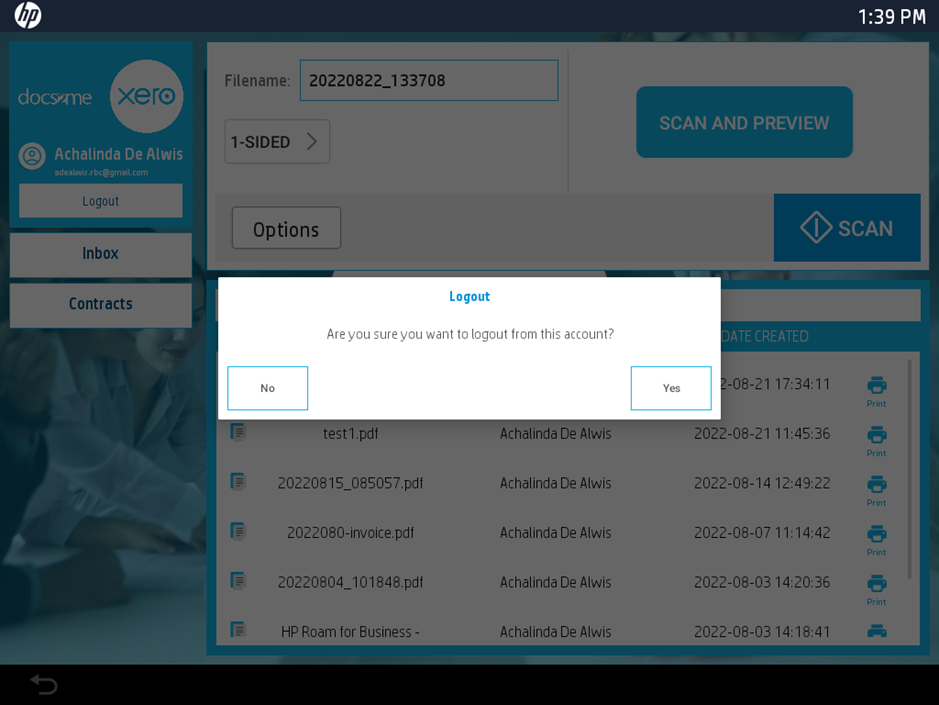
Logging Out
As shown in the screen below, users are advised to log out of their accounts as soon as they are done with the usage of the application as they will stay signed in until they have logged out of their accounts. Please select the ‘Logout’ underneath the user’s displayed name to sign out of the application.