Please use the steps below to scan to email on a Ricoh machine. The steps are easy, but there are two ways to use the function on the printer. Please make sure you have loaded the paper onto the document feeder before proceeding.
.png)
Scanner
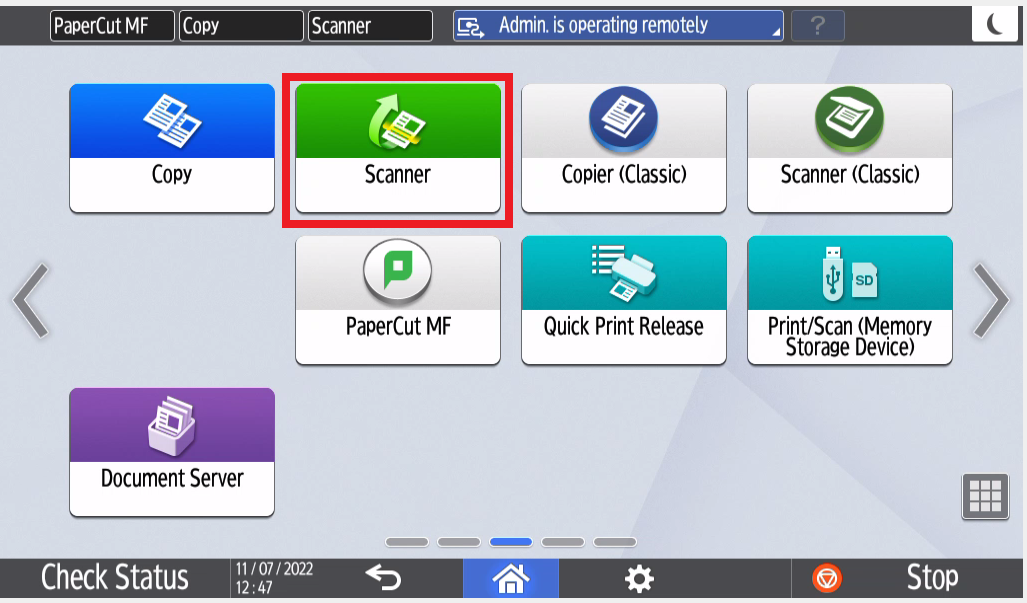
1. Please select the scanner icon as shown below.
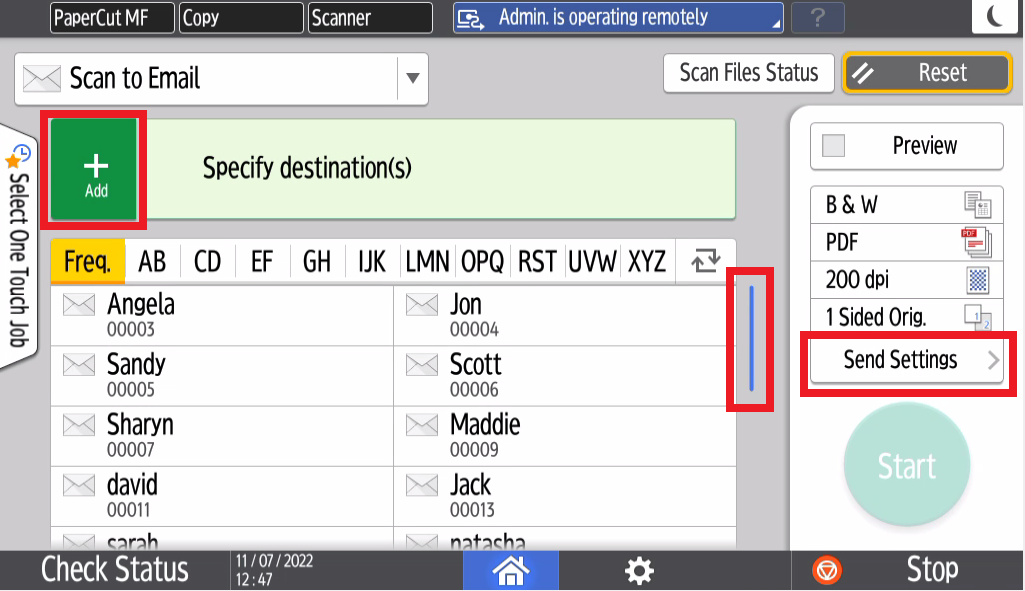
2. Once on the screen as shown below, you can either navigate through the list with the scroll bar on the left or manually add with the button on the left. There is an option to change the settings on how you want your scan file sent.
3. Please see the screen below that shows the different options of what can be changed when you send your scans through.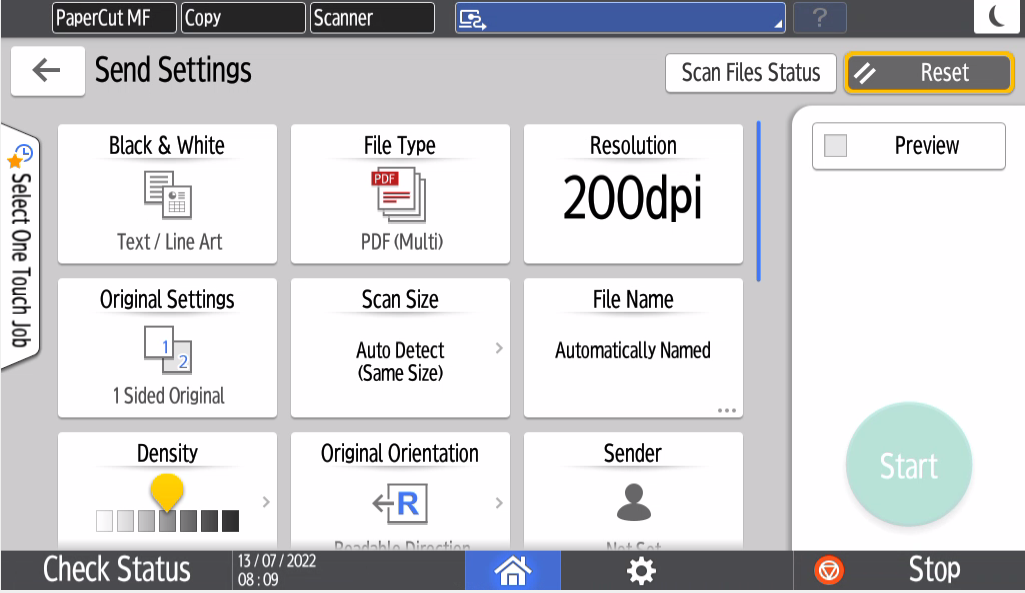
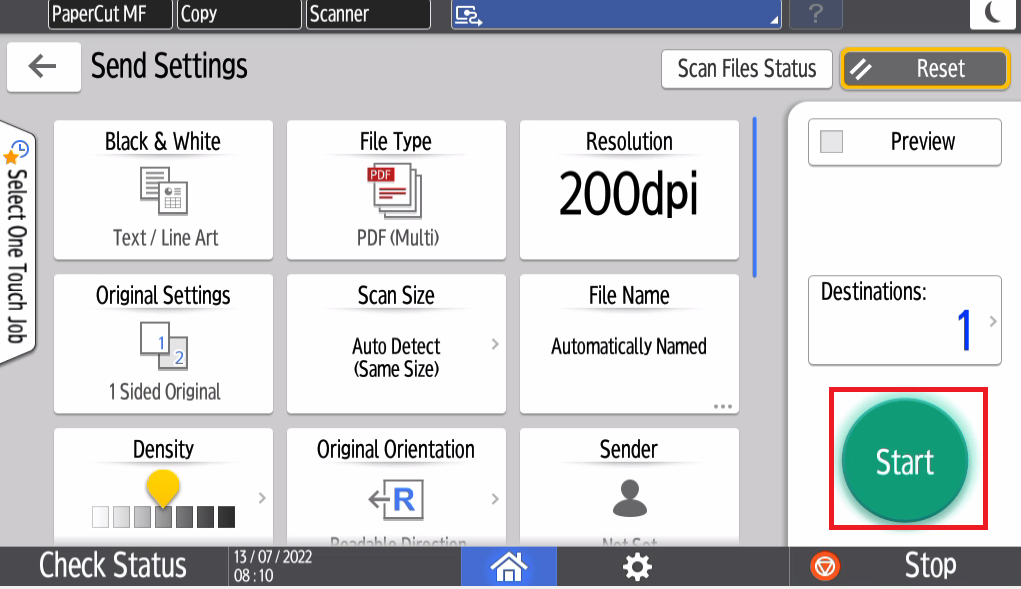
4. Once you have confirmed that the settings are set correctly, select Start on the right to send your scans to email.
 Delete
Scanner (Classic)
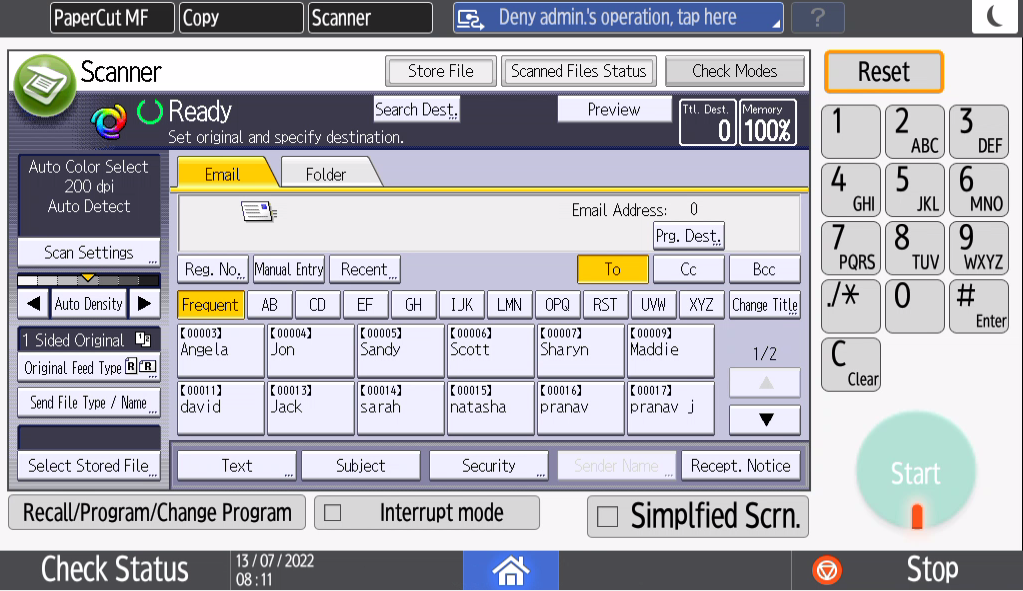
1. When selecting the Scanner Classic version, you will see the interface below. You will either need to select Manual Entry to manually enter your email address or select from the Address Book shown below, use the alphabets to navigate to your name if needed.
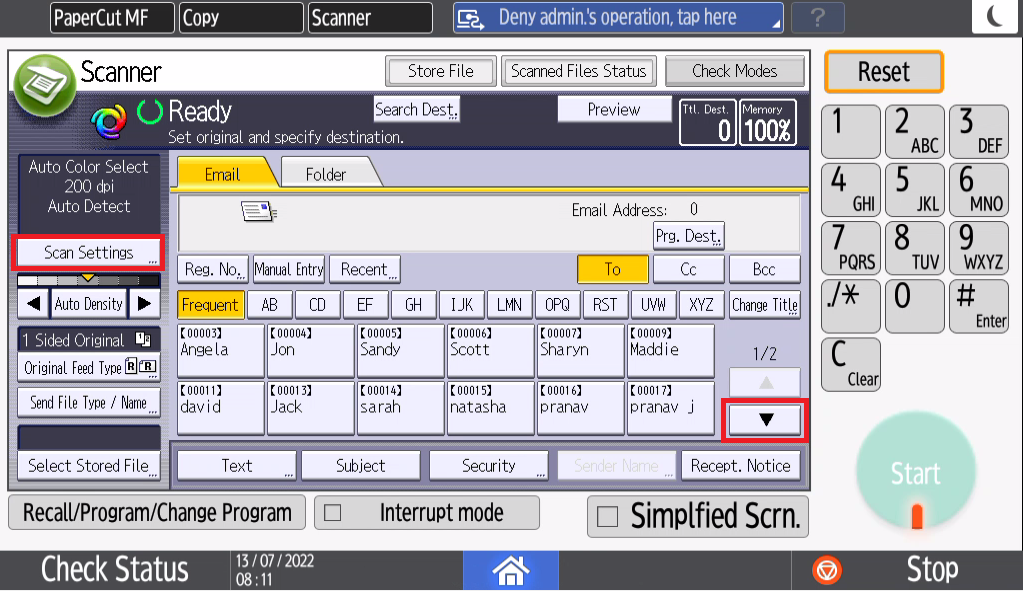
2. Once you have entered that, you can select Scan Settings if you need to change the specifications of the scans sent through.
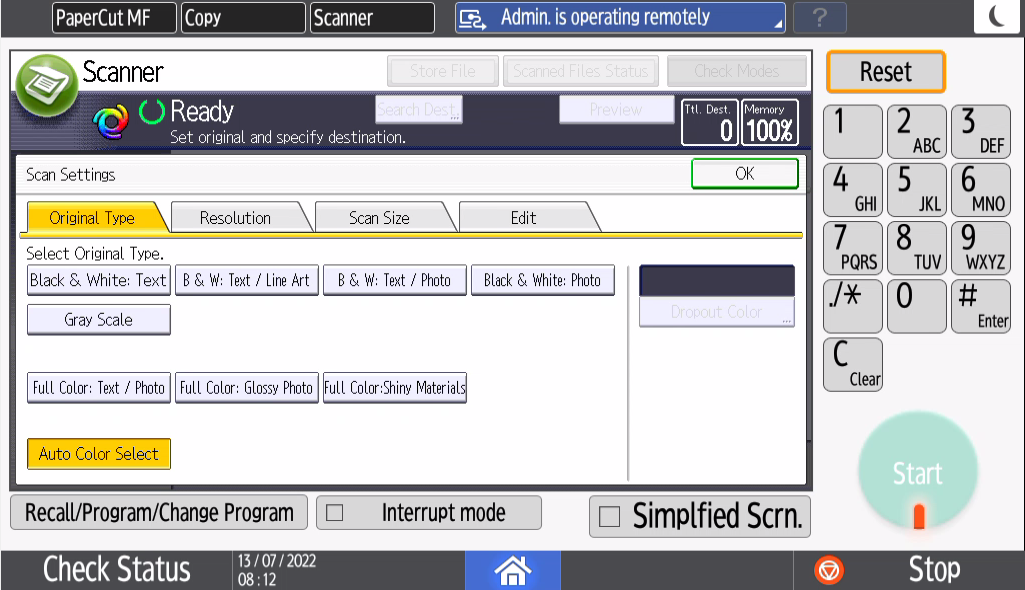
3. In Scan Settings, you will see the screen below and you can navigate between tabs to set the to your preferred settings.
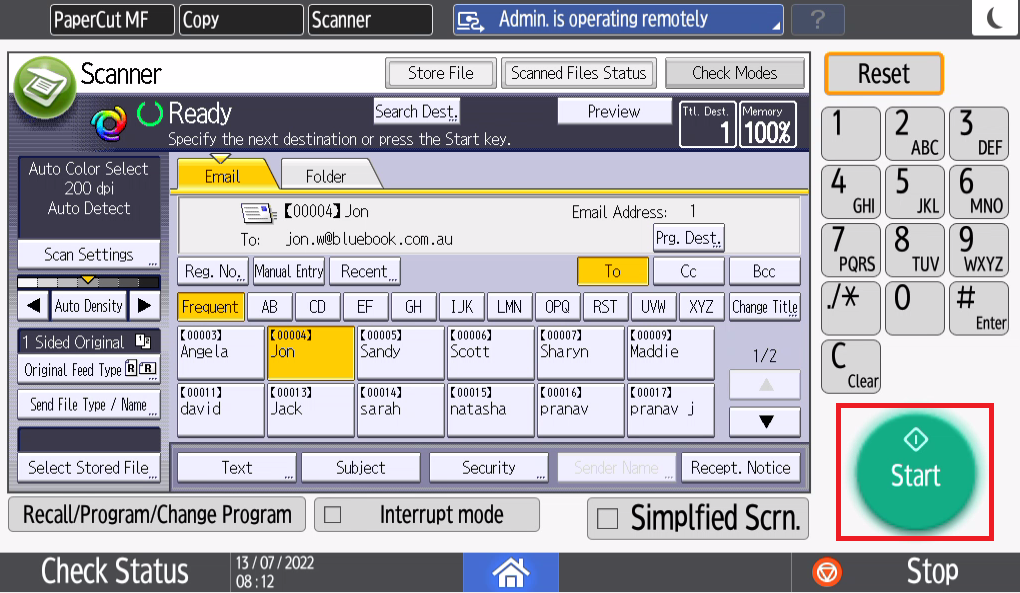
4. Once done, select the Start button as shown below, if it you aren't able to select the button, please double check that you have entered the destination.
If you have any issues completing these steps, please use the button below to log a support call and one of our friendly support team members will be in touch.