There may be instances that you run into jams when using the document feeder of your printer. On a HP Printer, when there is a jam in the document feeder, an error will appear on the control panel of the printer, e.g. 31.XX.YY. The printer will then show you where to look in order to remove this, there are a few spots that can be opened up easily to try and remove the paper.
Possible Areas to locate Paper Jams
1. Document feeder cover
As shown in the picture below, this is where the document feeder cover is located.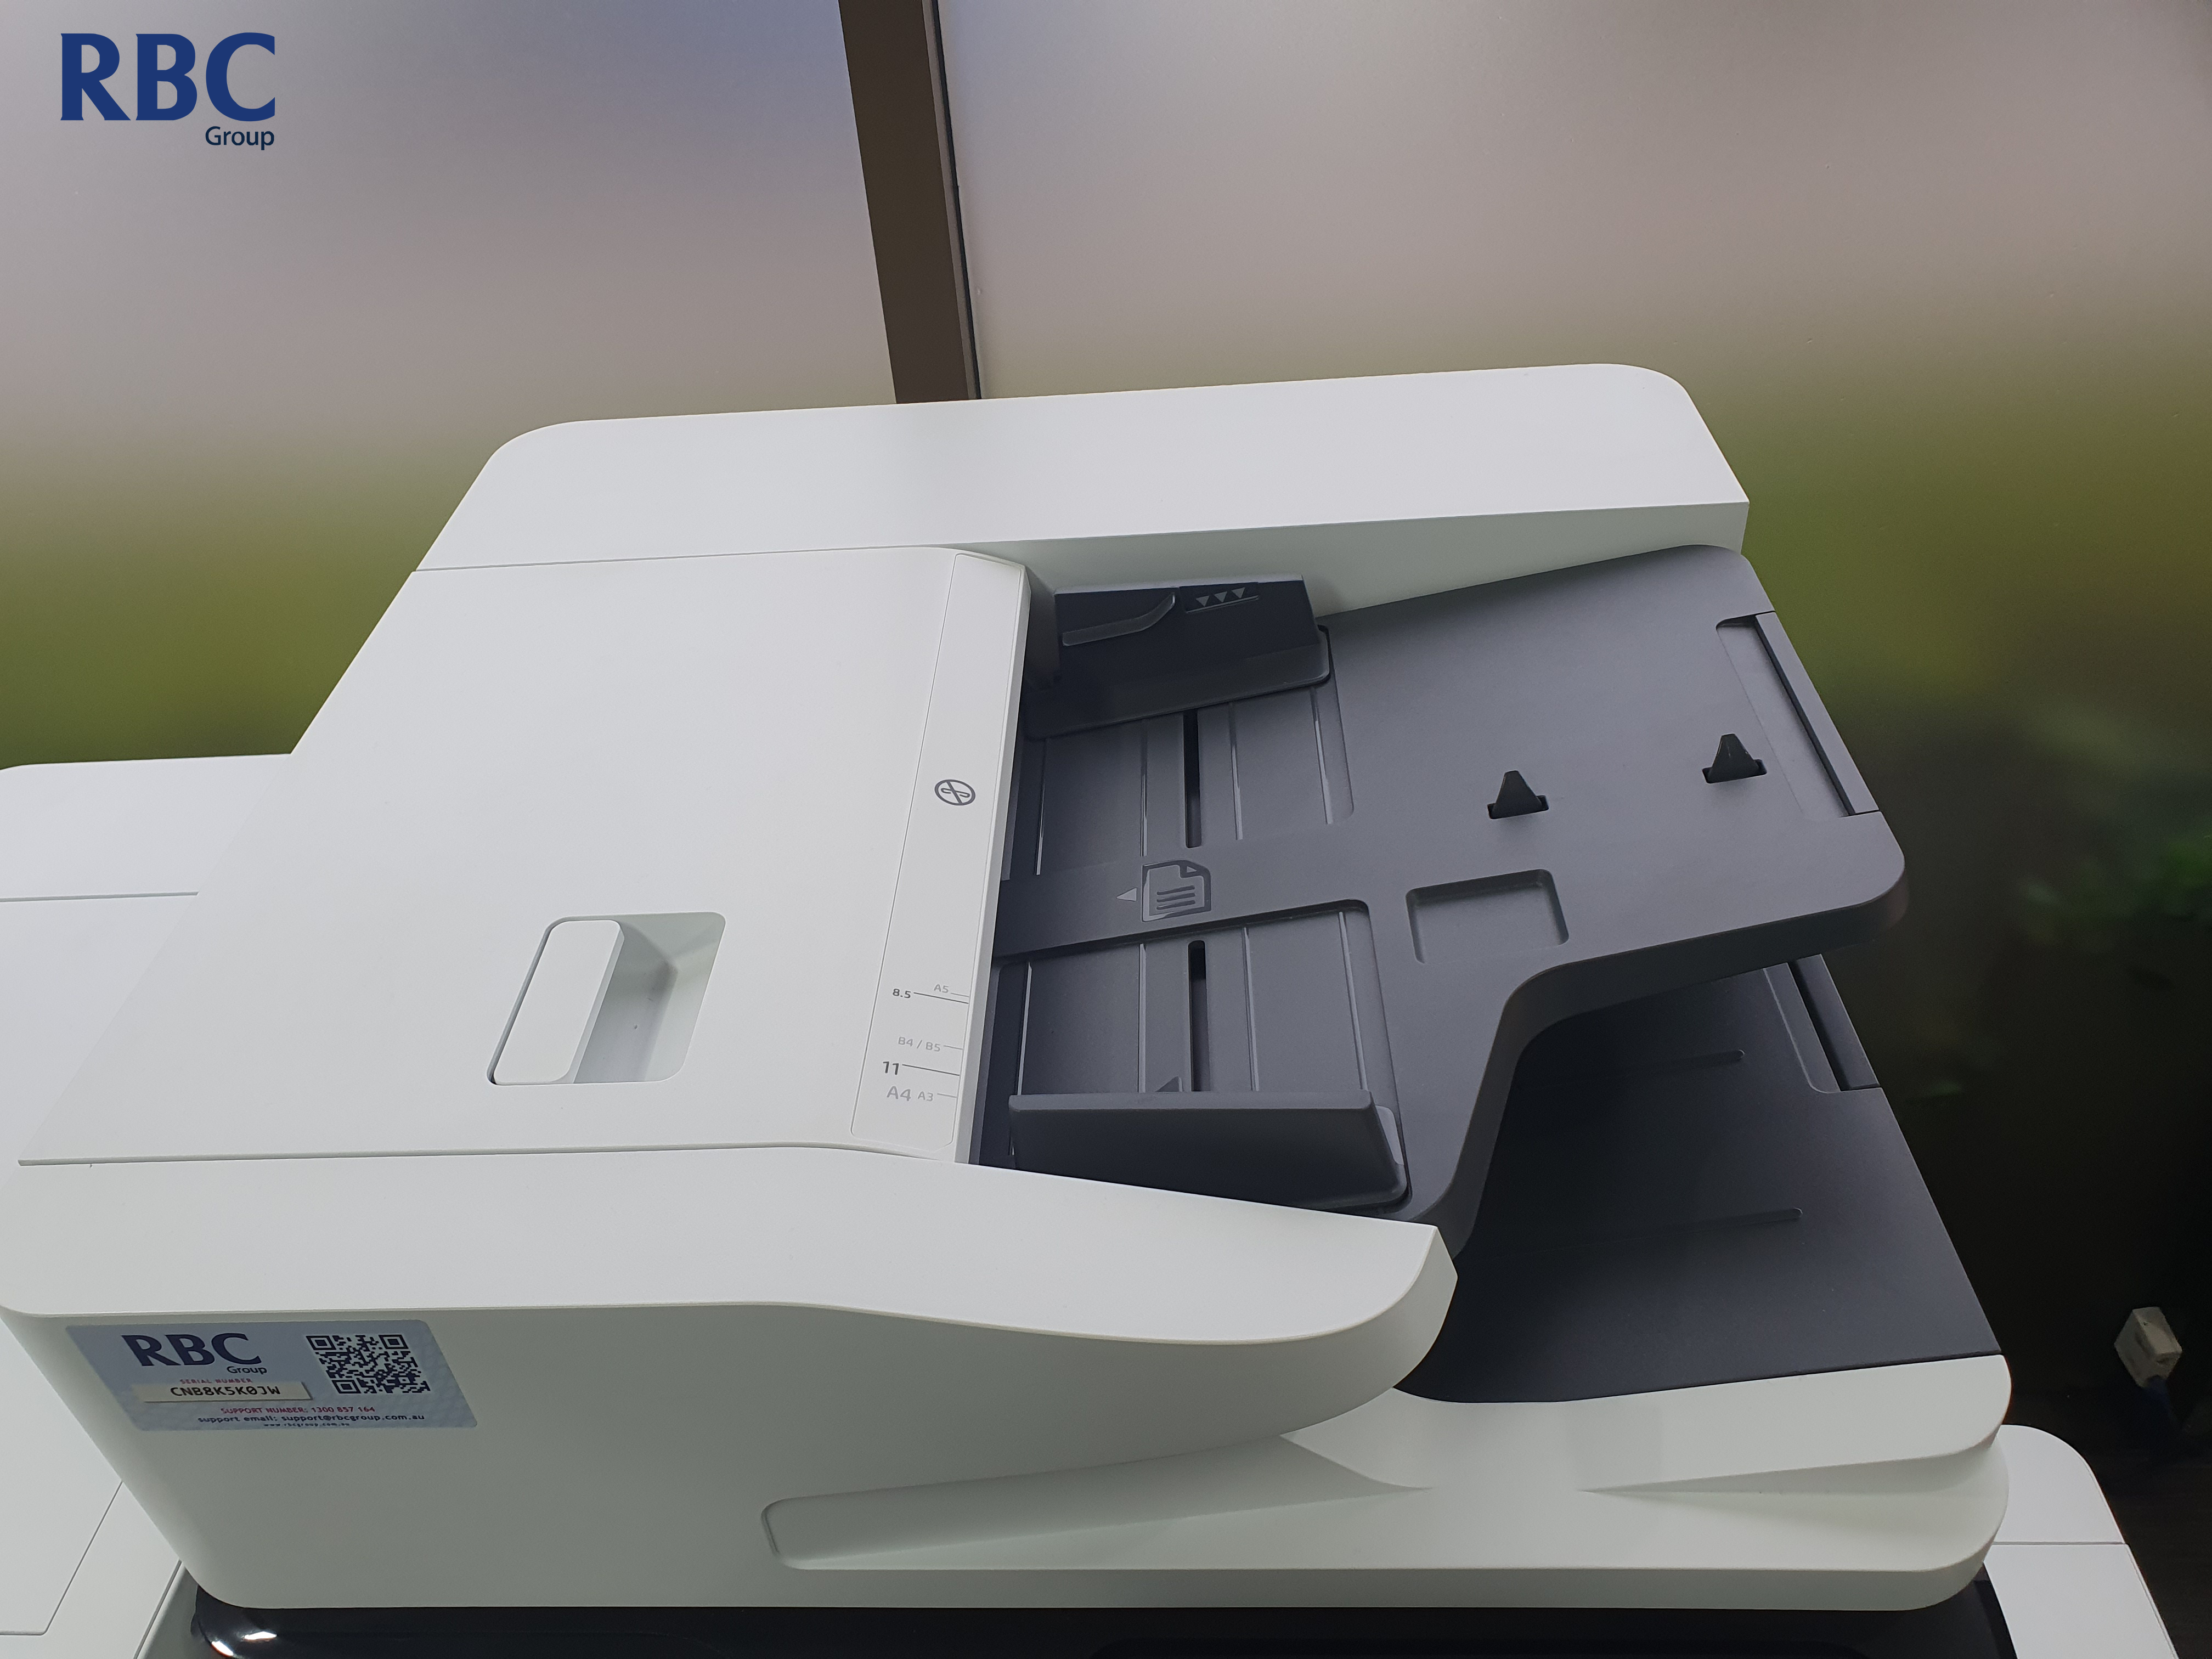
Once this is located, please open up the cover and have a look to see if you can locate where the paper jam is, if not, please move on to the 2nd area.
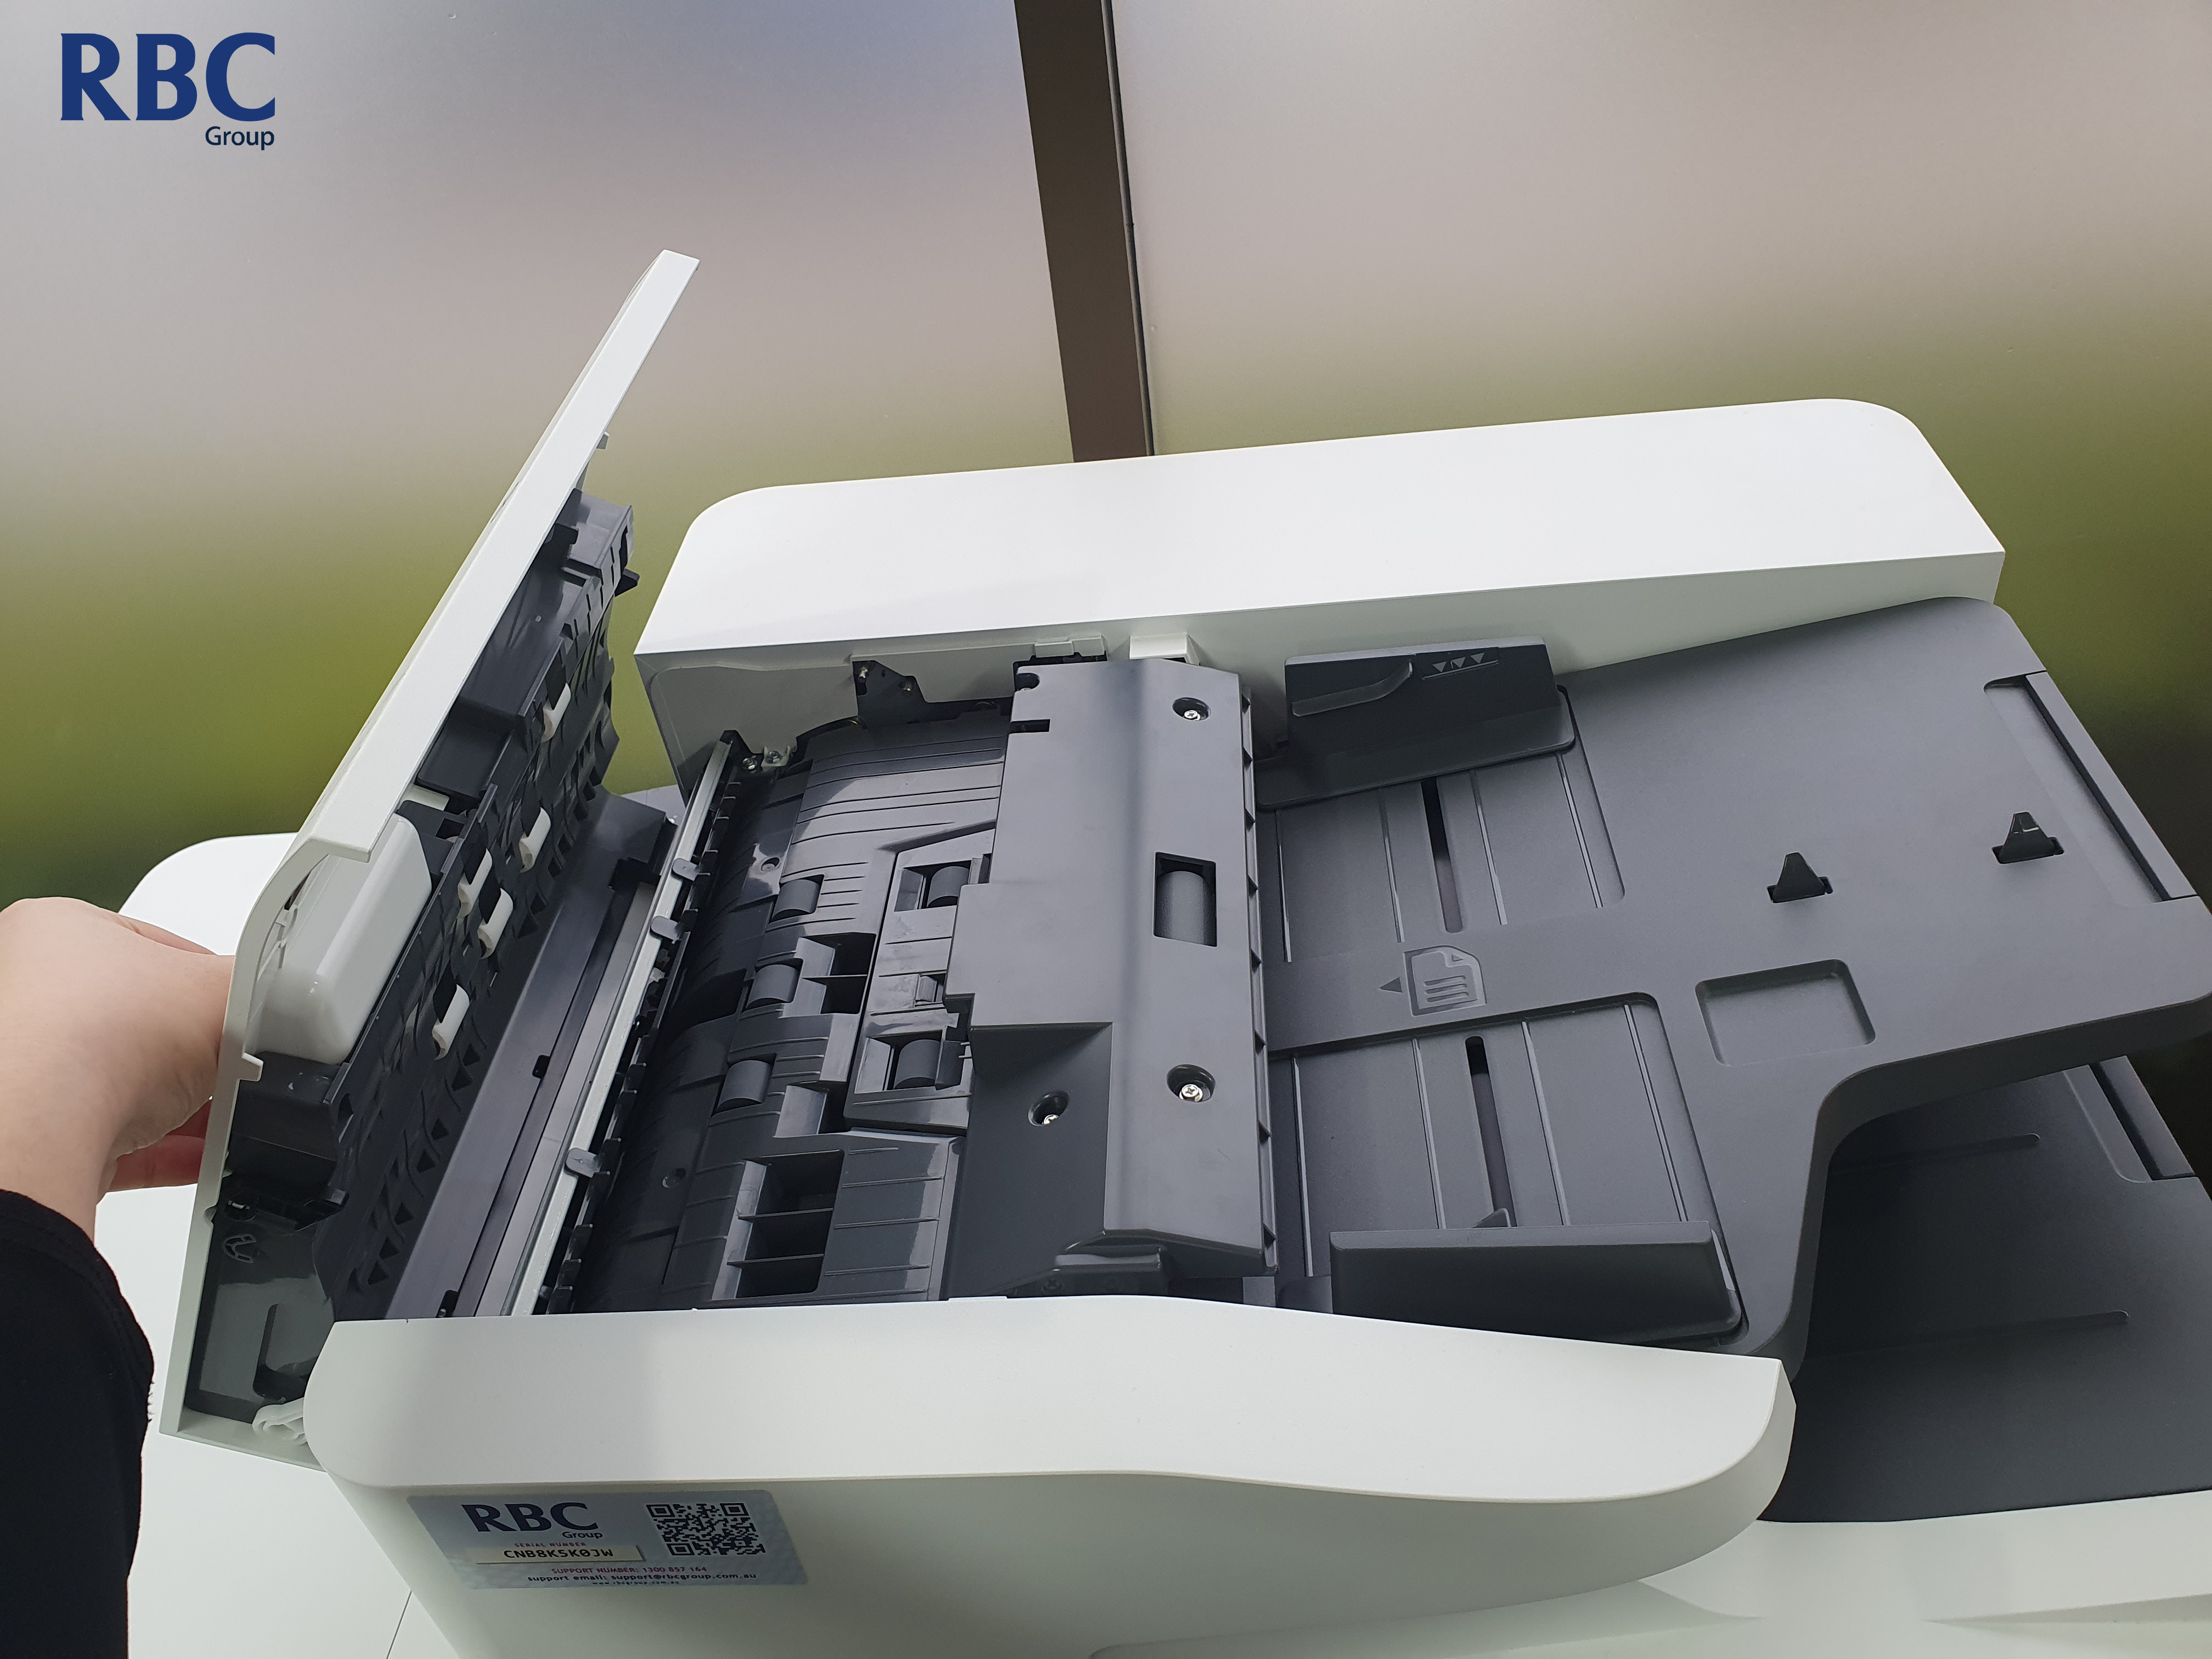
2. Underneath Document Feeder
As shown in the picture below, you will require to locate a white panel underneath the document feeder.
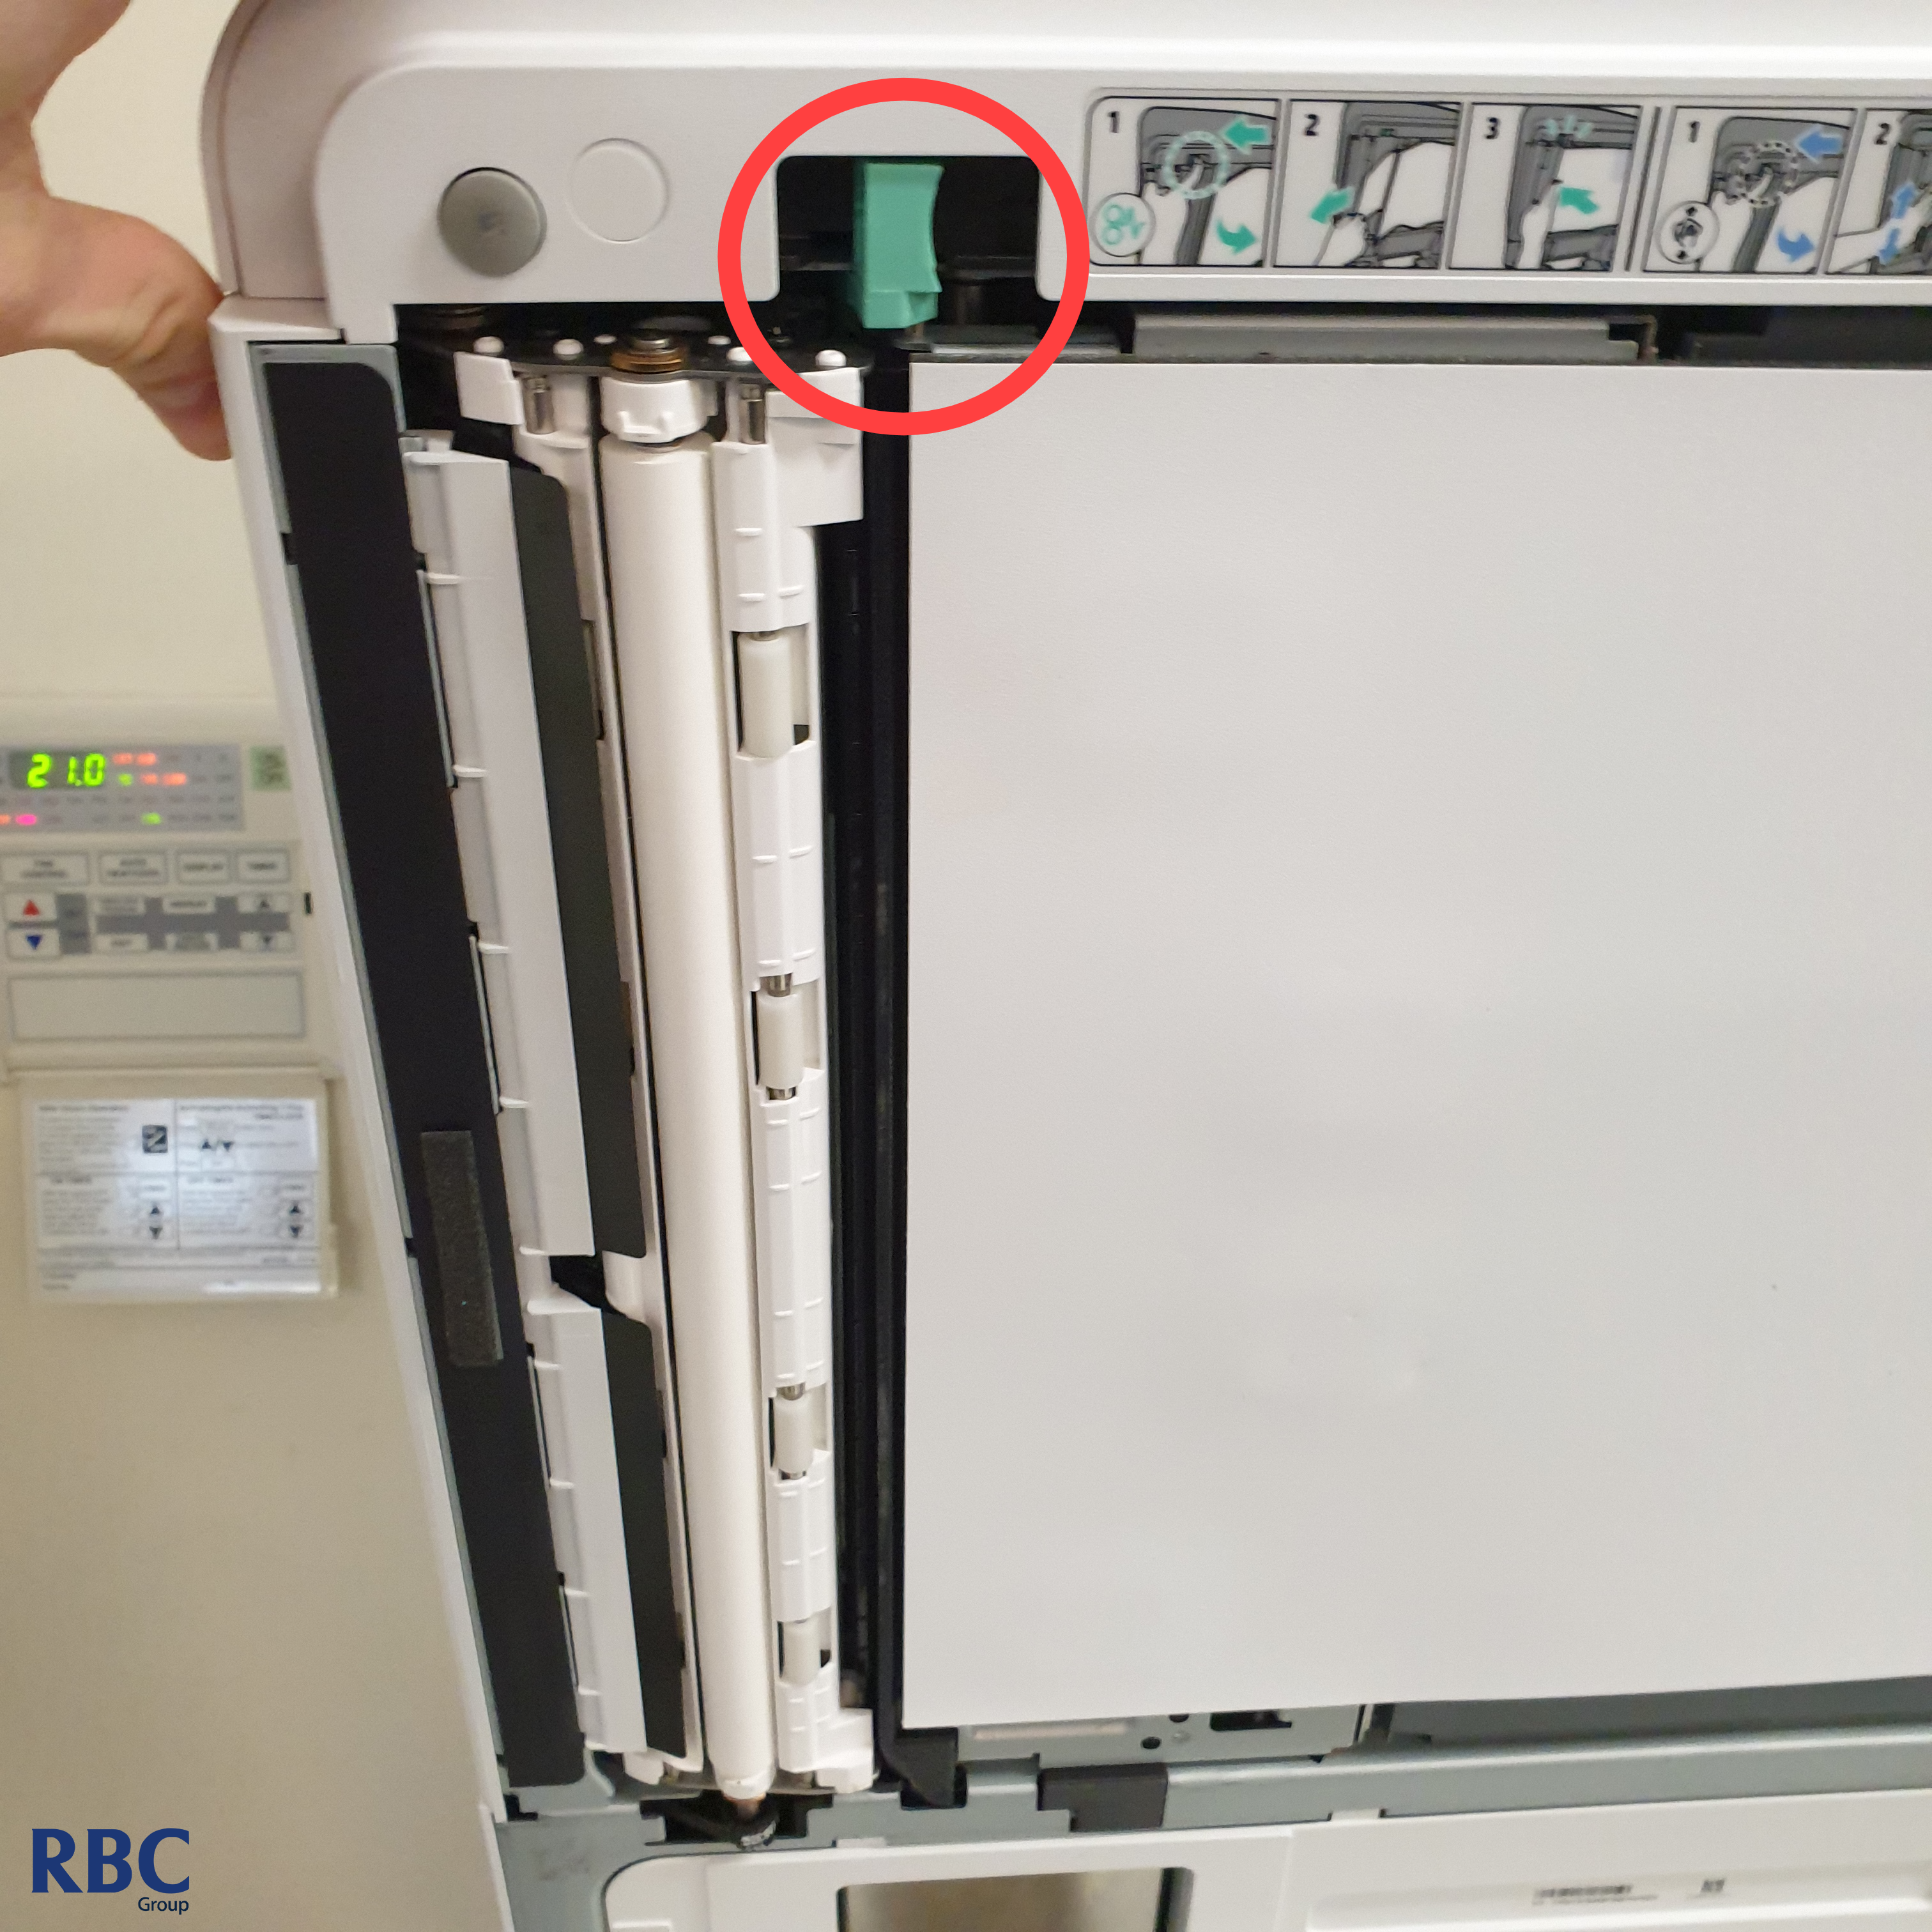
Please lift the document feeder as shown below and locate the green latch, release it and this will allow the white panel to drop. Please try to locate any paper jam that could be removed. If you can't seem to locate any paper, please move on to the 3rd area.
3. Inside the Document Feeder
This sometimes can't be seen as this will probably be a piece of ripped off paper from a paper jam previously removed but as torn off. There is a way to clear this without needing the printer to be serviced by a technician. Please refer to the non-visible jams in the next section to learn how to properly clear these paper jams.
How to Clear Paper Jams
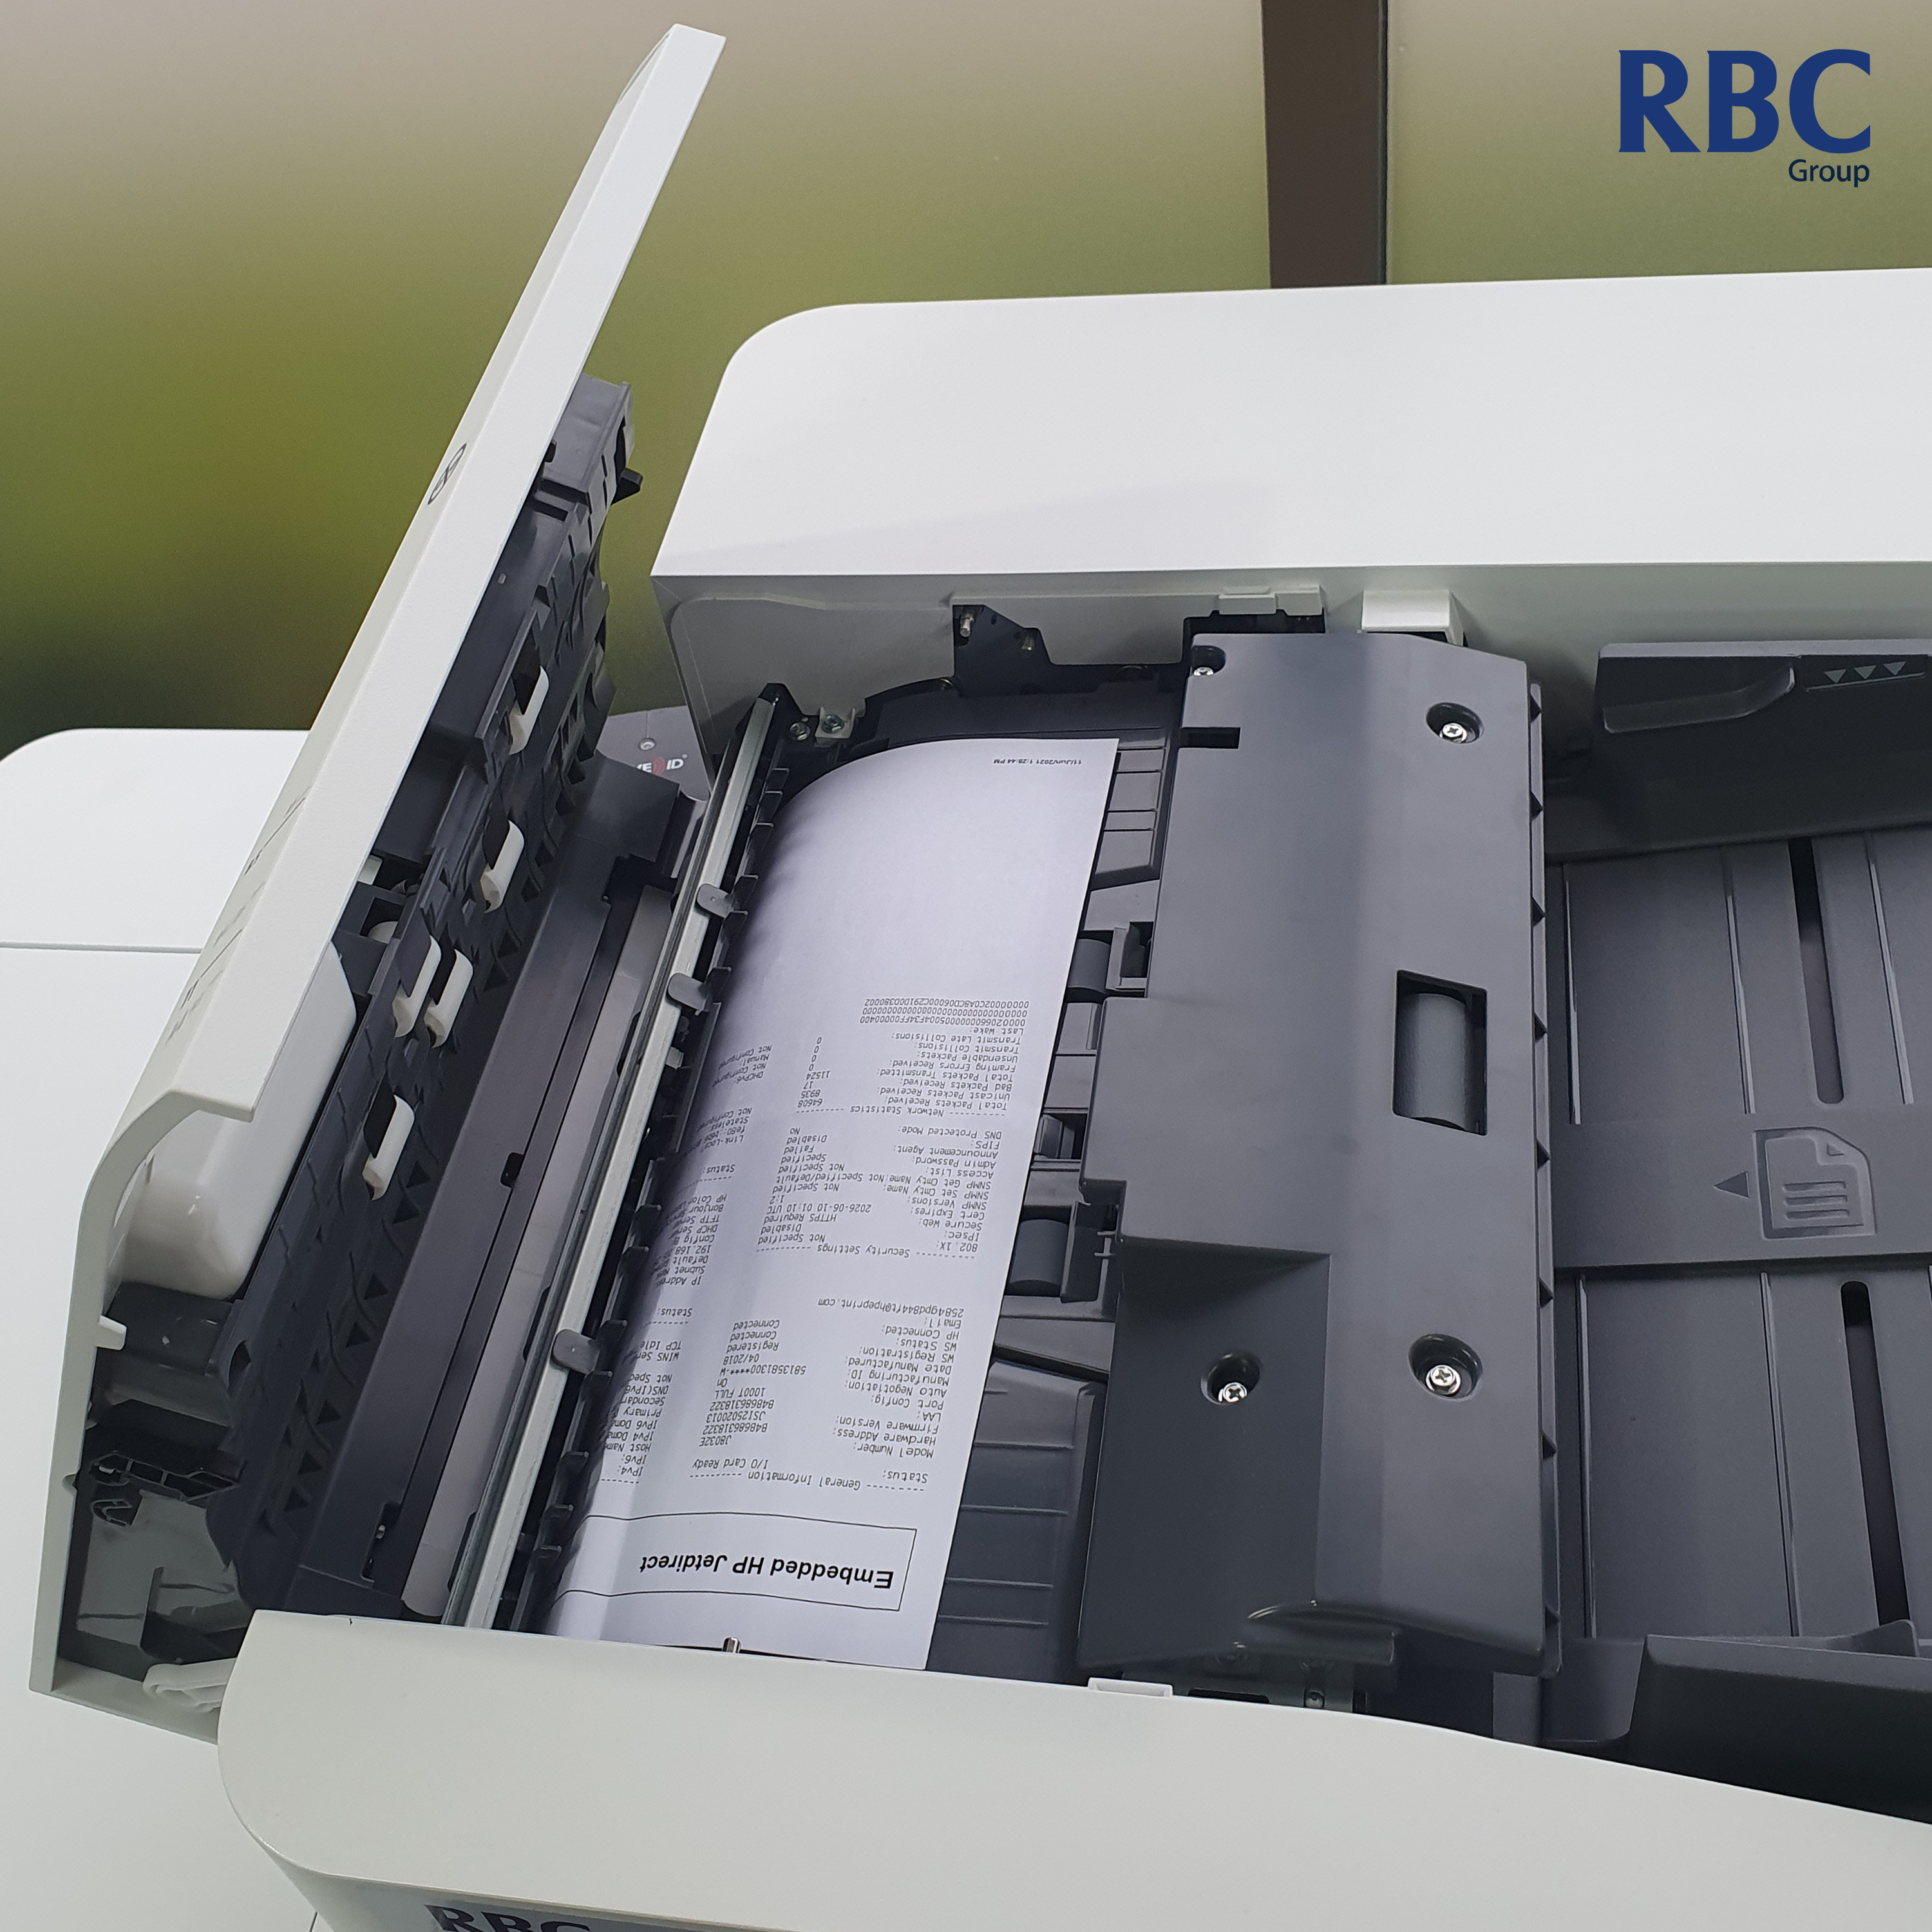
1. Visible Jams
When locating this, please make sure to leave said cover/panel open to remove the paper jam.
You will be required to pull the paper through the machine in the direction that it would go when scanning which will allow a smoother release.
Please note that pulling it the other way might cause slight damage to the rollers, so it is not recommended that this is done unless there is no other way to access the paper.
2. Non-visible Jams
The way to clear these jams is to either take about 4 sheets paper or a clear A4 plastic sheet/higher GSM (around 150-200) paper to manually feed through the document feeder to push out the torn paper.
This normally clears the paper as it is pushed out of the scanner. Once this is done, if you know that all the paper is removed and the 31 error is still on your screen, please try to restart the printer to see if that clears the error.
If this doesn't work, please do not hesitate to contact RBC Support using the button below.